Hello Everyone!
I’m not sure why, but I decided to try out a Sourdough Pizza Dough recipe. This dough has a freeze for later option so I will be making a part 2 post once it comes time for me to use my dough so you can see how it turns out!
The recipe I used was from moonandmagnolia.com and it is called ‘Freezer-Friendly Sourdough Pizza Dough.’ I will be adding the link to my Link & Supplies page as well as my Cozy Bread Nook Pinterest Page.
The ingredients you will need:
-100grams (1/2 Cups) Sourdough Starter, active and bubbly
-500grams (4 Cups) All-purpose Flour
-100grams (3/4 Cup) Whole Wheat Flour
-350grams (1 1/2 Cups) Water
-10grams (1 1/2 Tsp.) Salt
-30grams (2 Tbsp.) Olive Oil
This recipe makes 4 pizza crust so feel free to half the recipe if needed. You will need a lot of sourdough starter for this recipe so keep that in mind when feeding your starter. I had already used some of my starter to make bread that day so I was running low. I split Fernandough in two and had him in his jar and then in a glass bowl. I fed both, put their socks on them to keep them warm and covered them with the esembly bowl caps and let them rise overnight.
Once I measured my starter out in the morning, I had plenty to use, put in the discard jar and re-feed Fernandough so he could go back to being in the fridge until the next project.
I knew I was going to need a lot of ingredients and a lot of each so I went ahead and measured all mine out as you can see below. I used vegetable oil since I did not have olive oil.
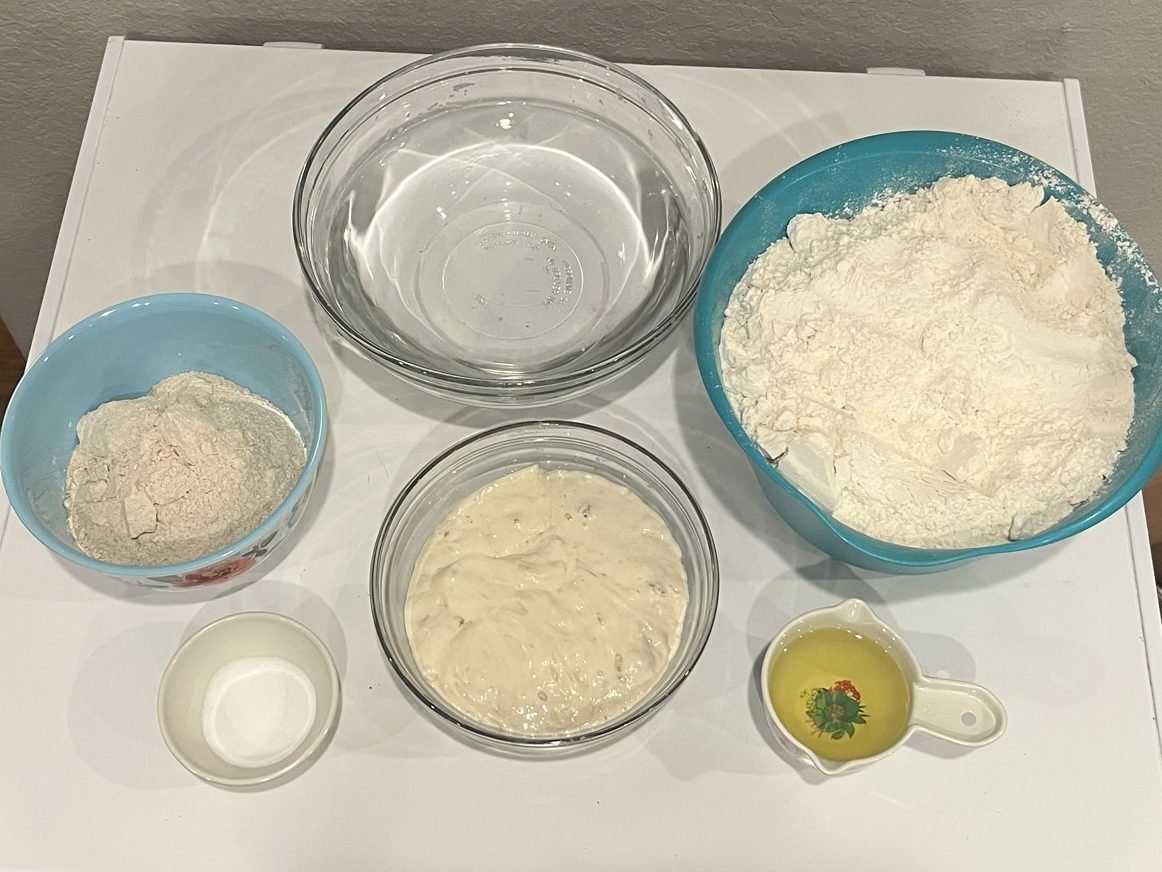
The recipe says to mix everything in at once but even with using my Hamilton Beach mixer that would be an overwhelming amount for it to work with. Basically what I did was added a little of each ingredient, mixed, and then added a little more. Once it was about half way I put that dough in a different bowl and repeated what I did in the beginning to the rest of the ingredients by adding a little and mixing until everything was mixed.
I then took the dough I had made in the beginning and added them together, but covered my hands with flour and mixed this part myself. My dough hook possible could have handled all of that, but I want mine to last a long time so why not help it out once in a while?
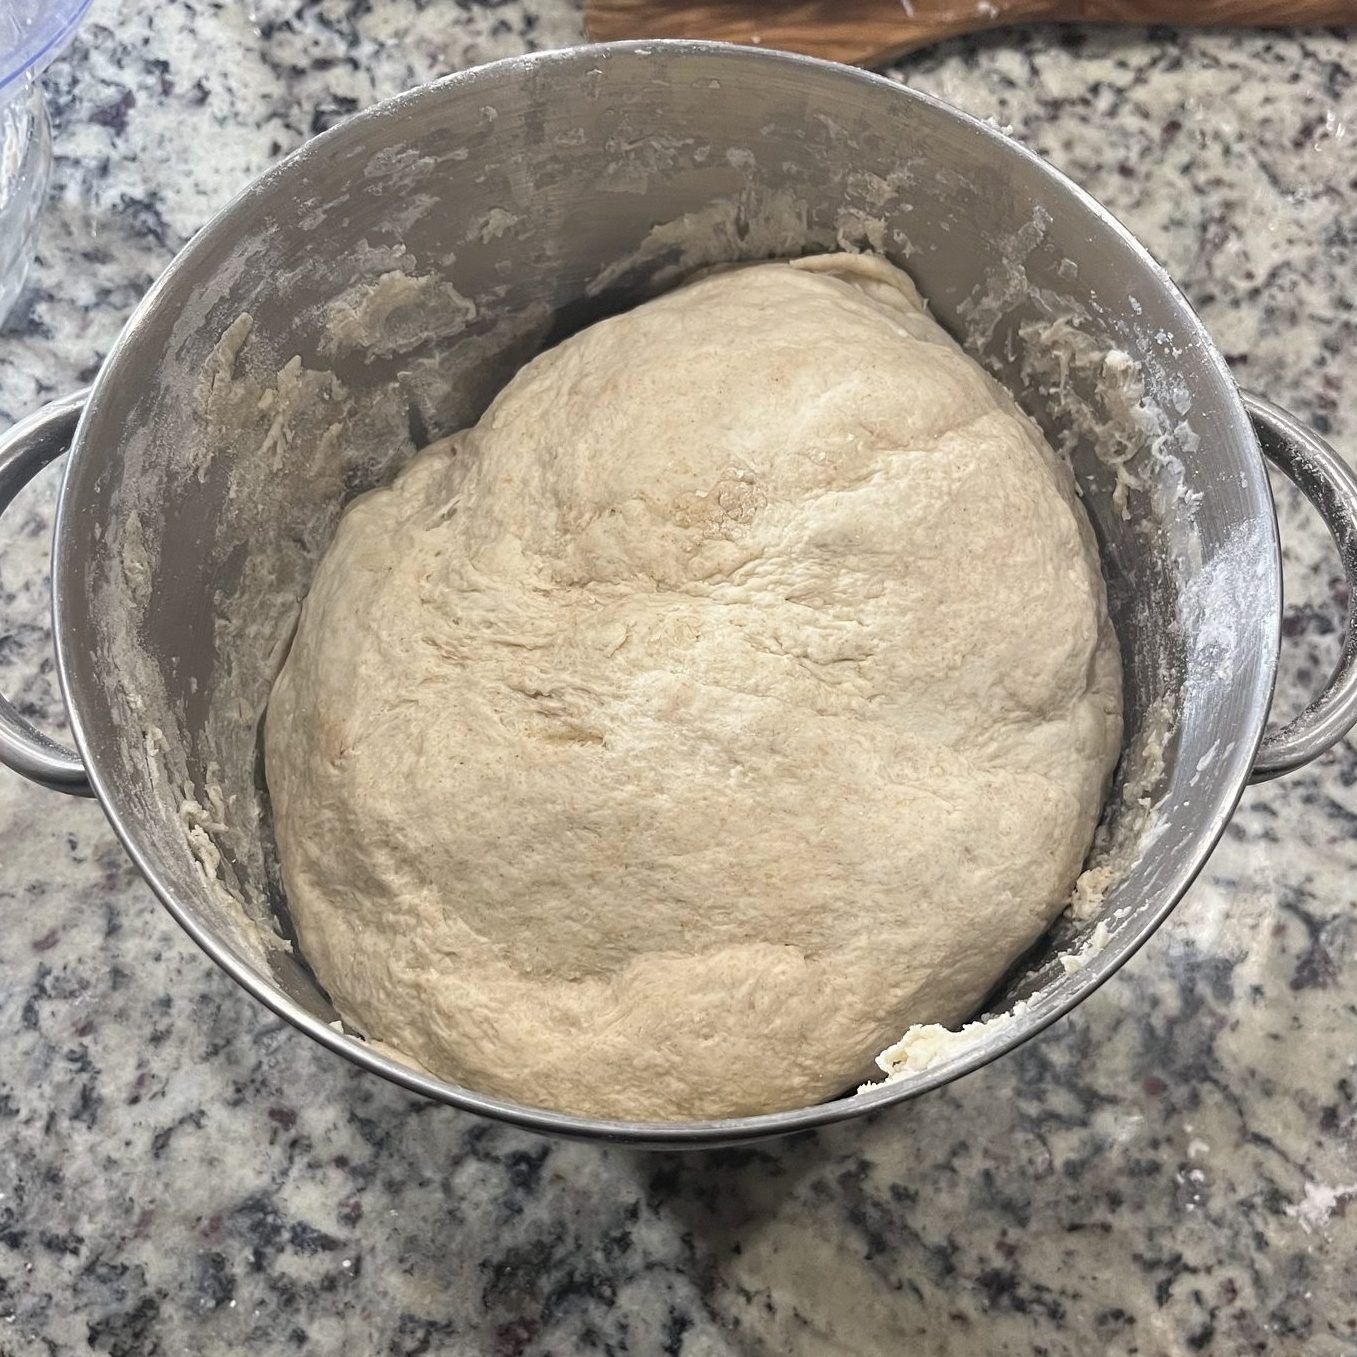
Once all the dough was mixed, I placed it in my bread proofing box and set it to 80 degrees for 8 hours. I did this all before I had to be at church at 8:30AM that morning because I knew it had a long rise time. Make sure you read the whole recipe when you plan to make something new because different recipes call for different rise times and you have to acclimate accordingly.
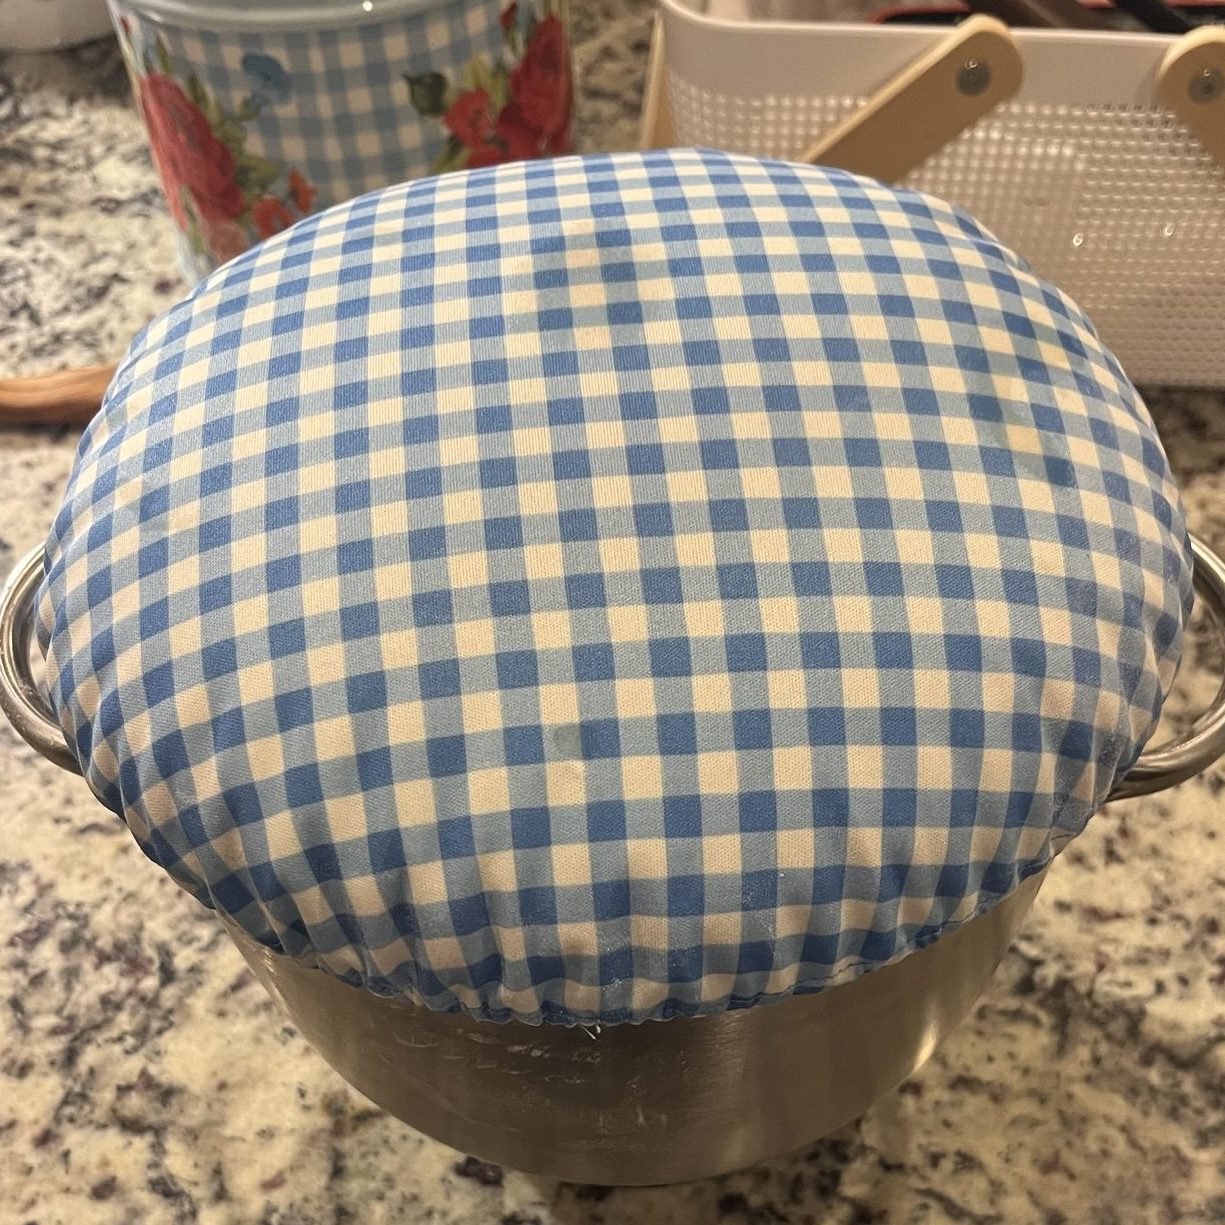
Before you set your dough in your bread box or wherever you put your dough to do the bulk rise, make sure you cover it. I use the esembly bowl caps and they have worked well for me. I put some oil on the top of mine before covering the bowl so the dough would not stick to it. The link for these bowl caps is on my Links & Supplies page so go check them out!
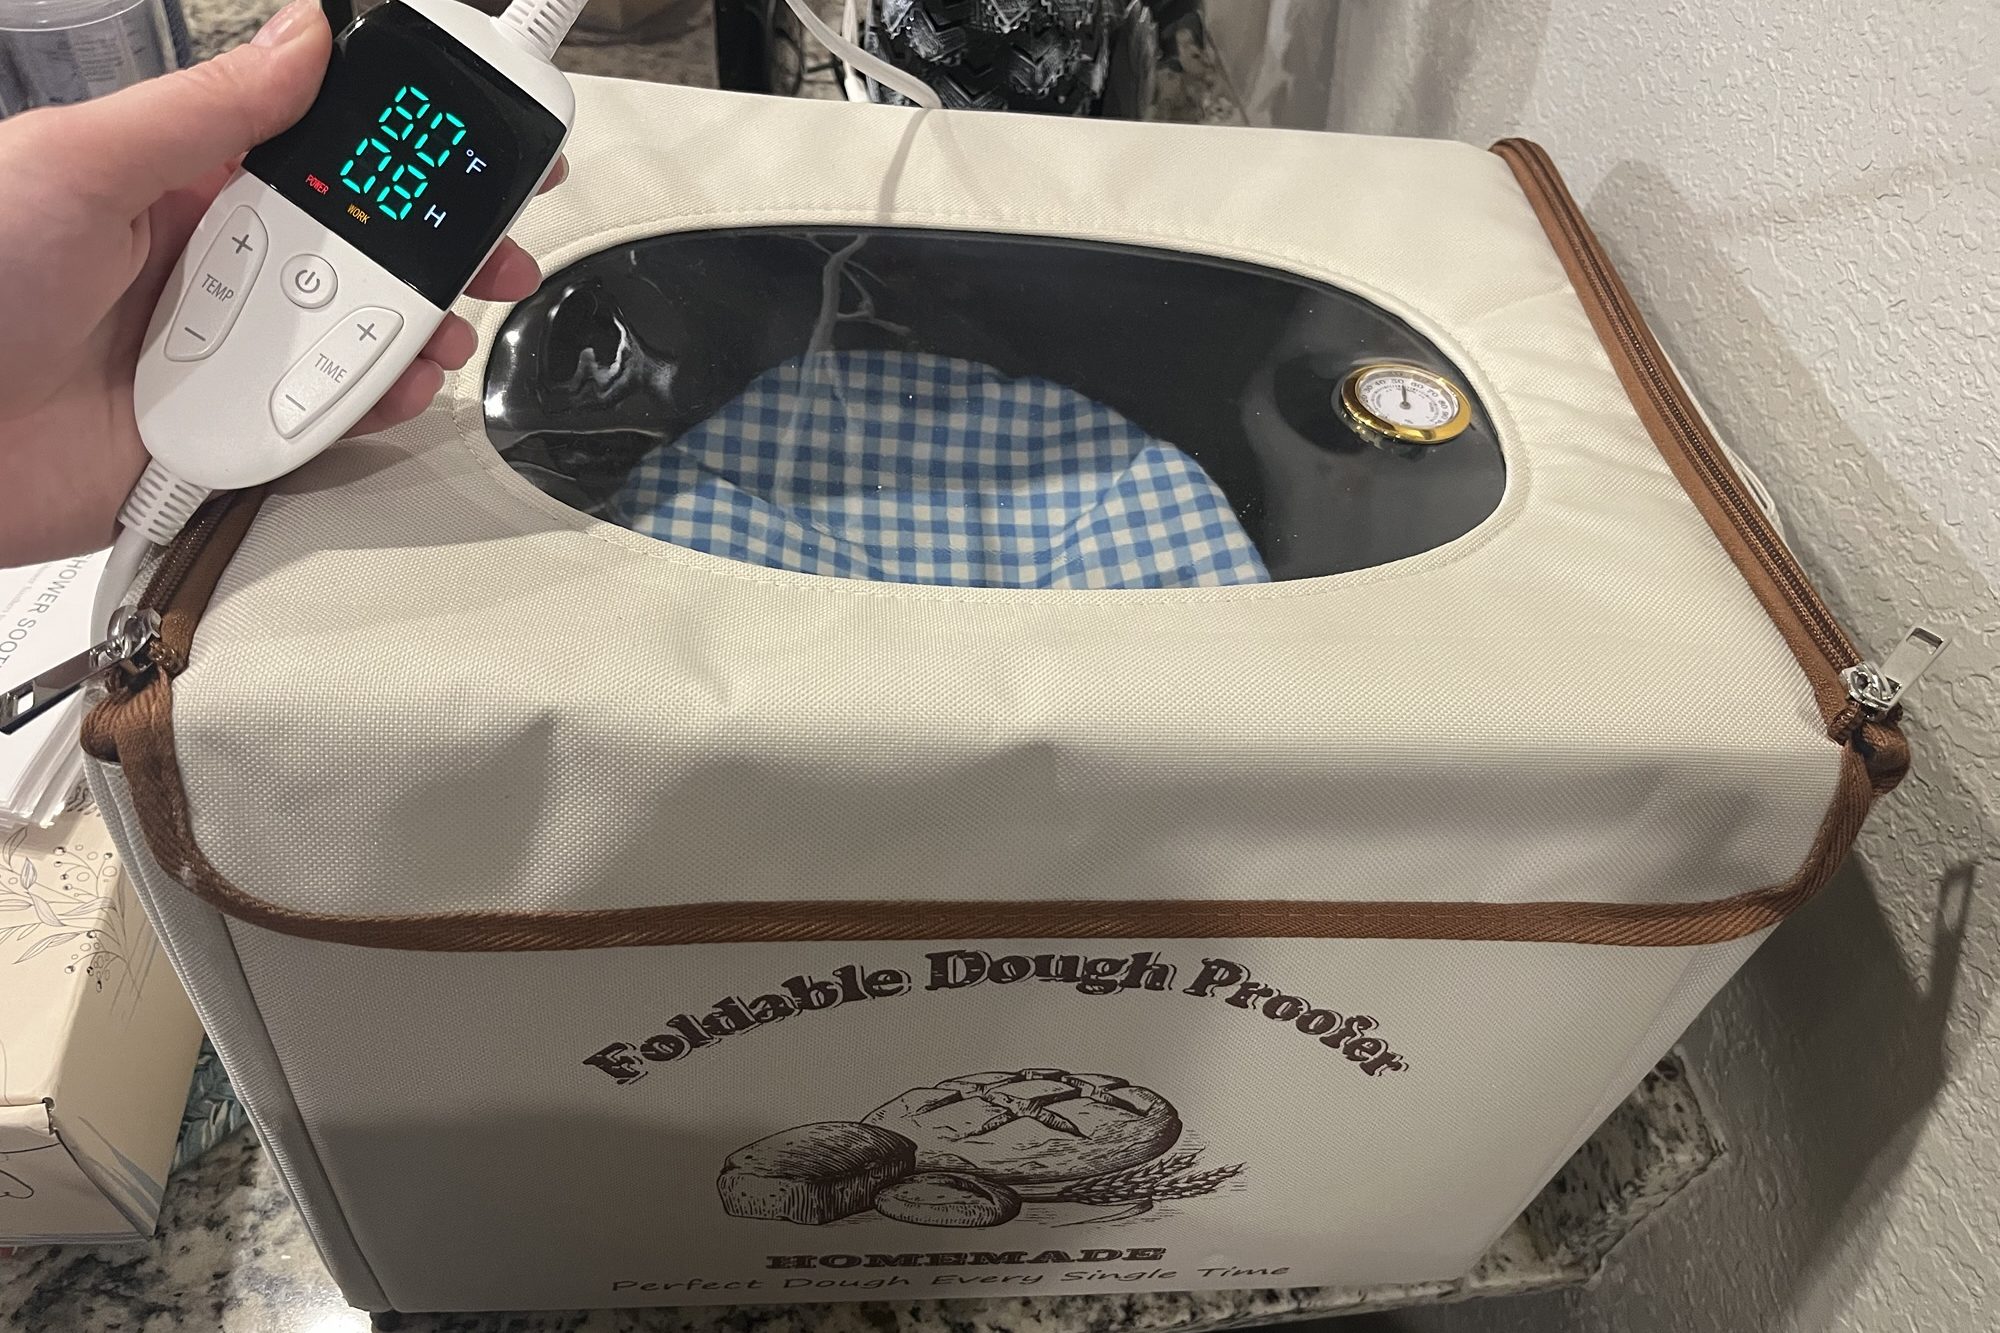
I love this bread proofing box!! The link is in my Links & Supplies page and I definitely recommend getting one! It helped my dough rise sooooo much!!!
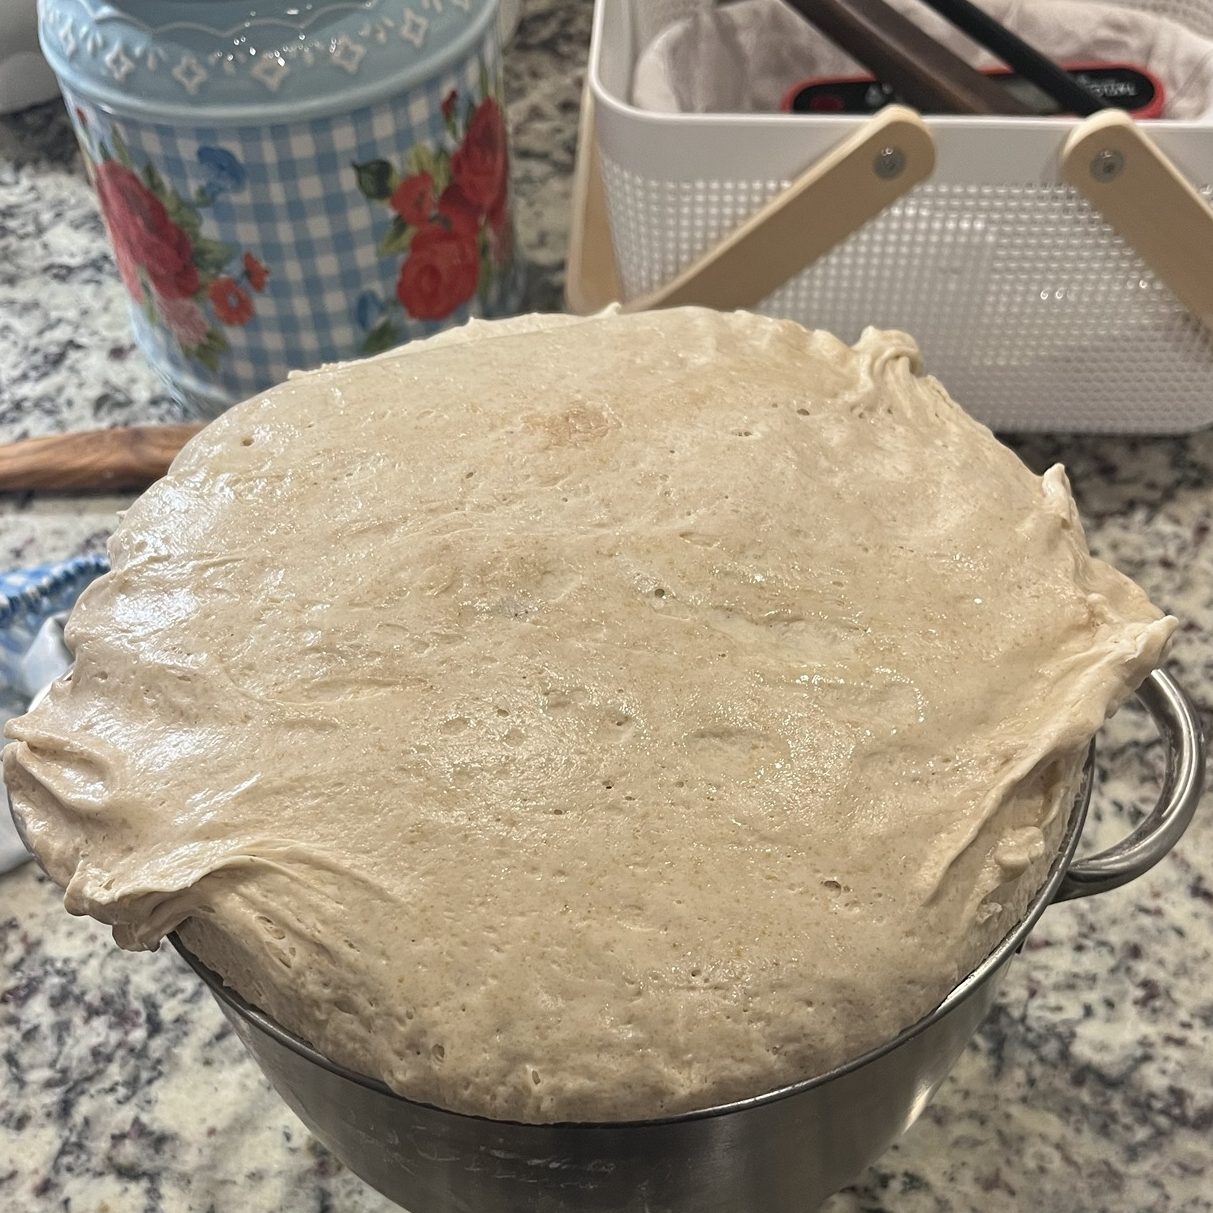
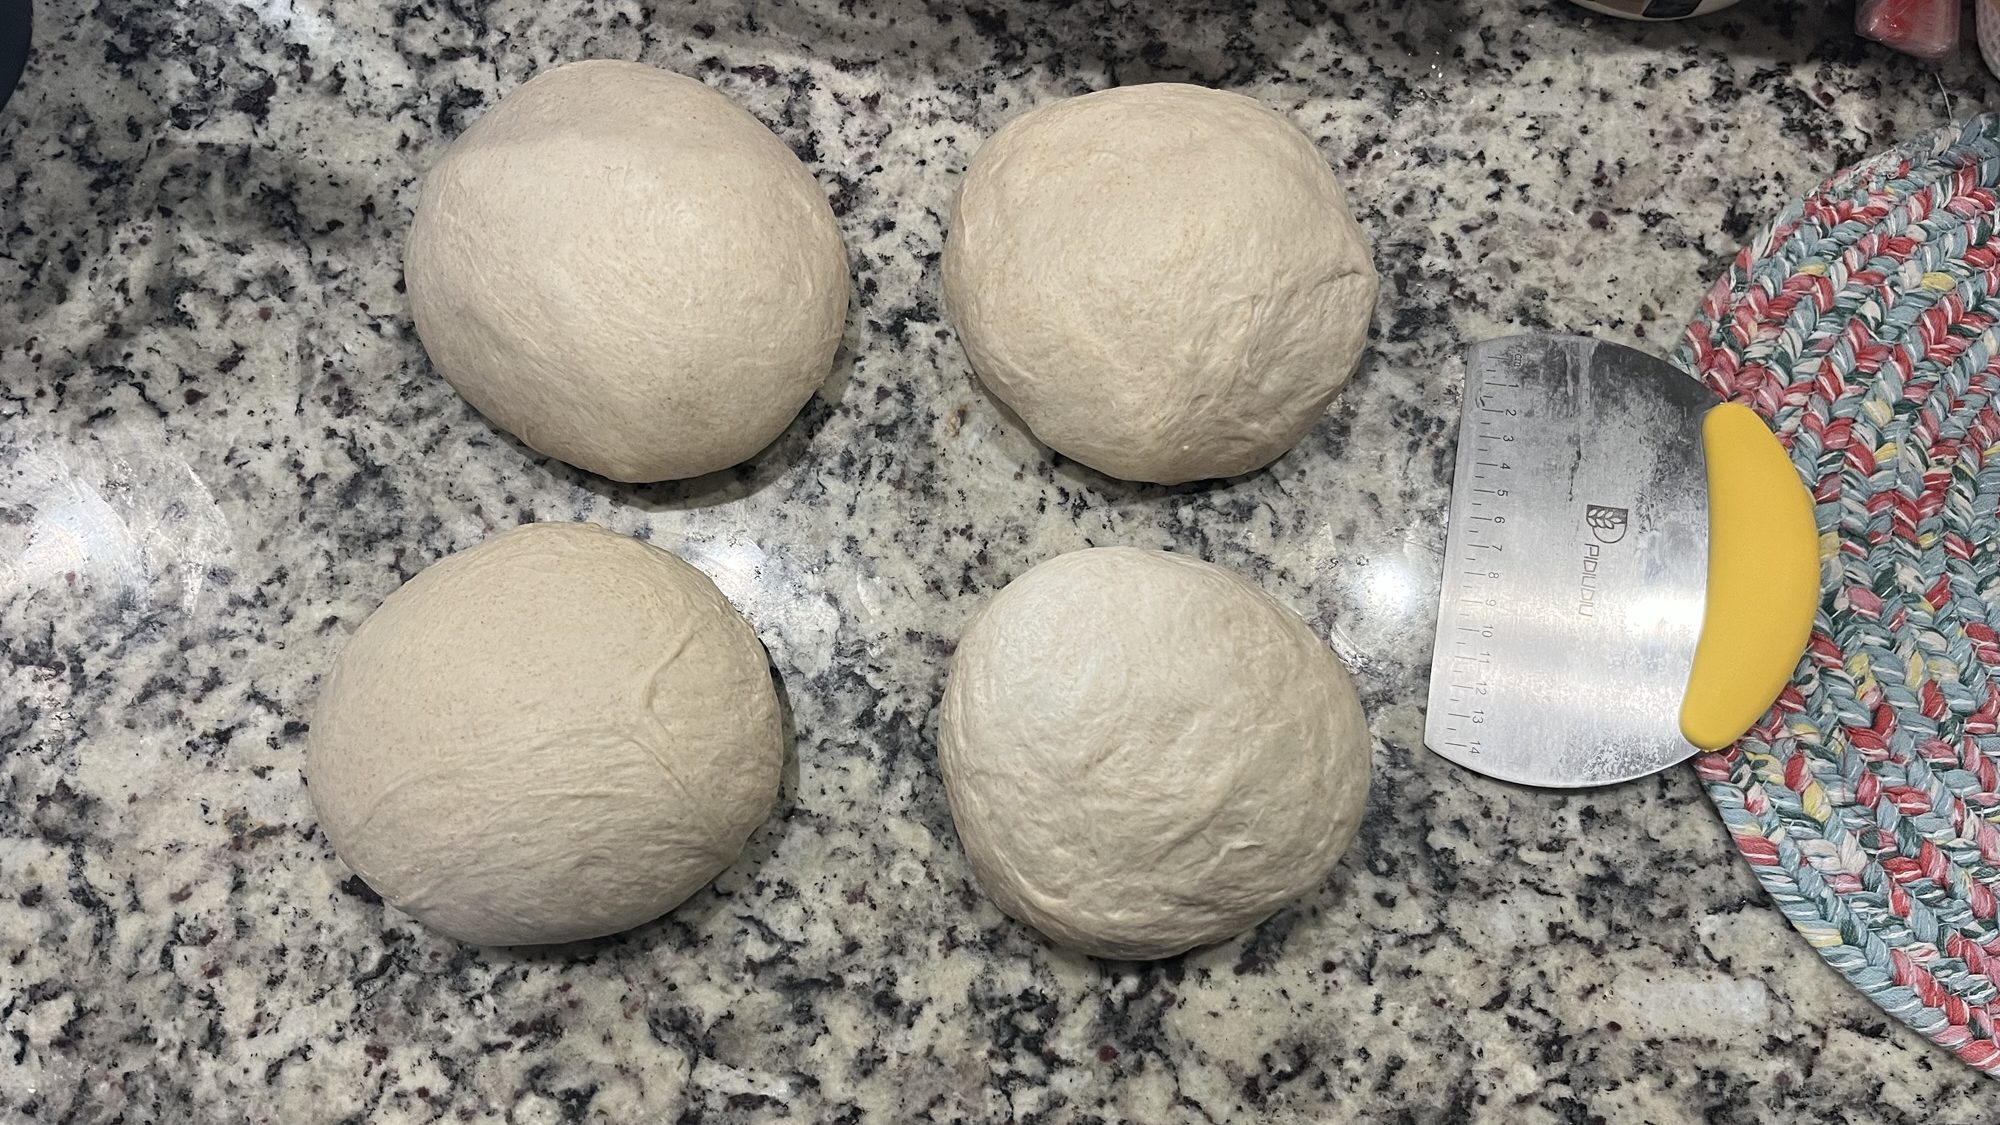
After I took my cover off, I was so glad I had put oil on the top because it came off so easily and didn’t have my dough going a billion different directions. Turn your dough out onto a lightly floured surface. If you have a bench scraper as pictured below then get it and cut your dough into 4 equal parts.

Once you have your dough separated into fours, you then want to roll each section into a ball. Per the recipe, you can do this by turning your dough clockwise while also pulling toward yourself.
Now it is time to put them in our freezer bags! If you’re like me and didn’t know you were out of freezer bags then grab 4 quart bags and 2 gallon bags. When in doubt, double bag it! Lightly flour your dough balls and place them each in a quart size bag. Squeeze out as much air as you can without completely crushing your dough and then place two each in the gallon bags.
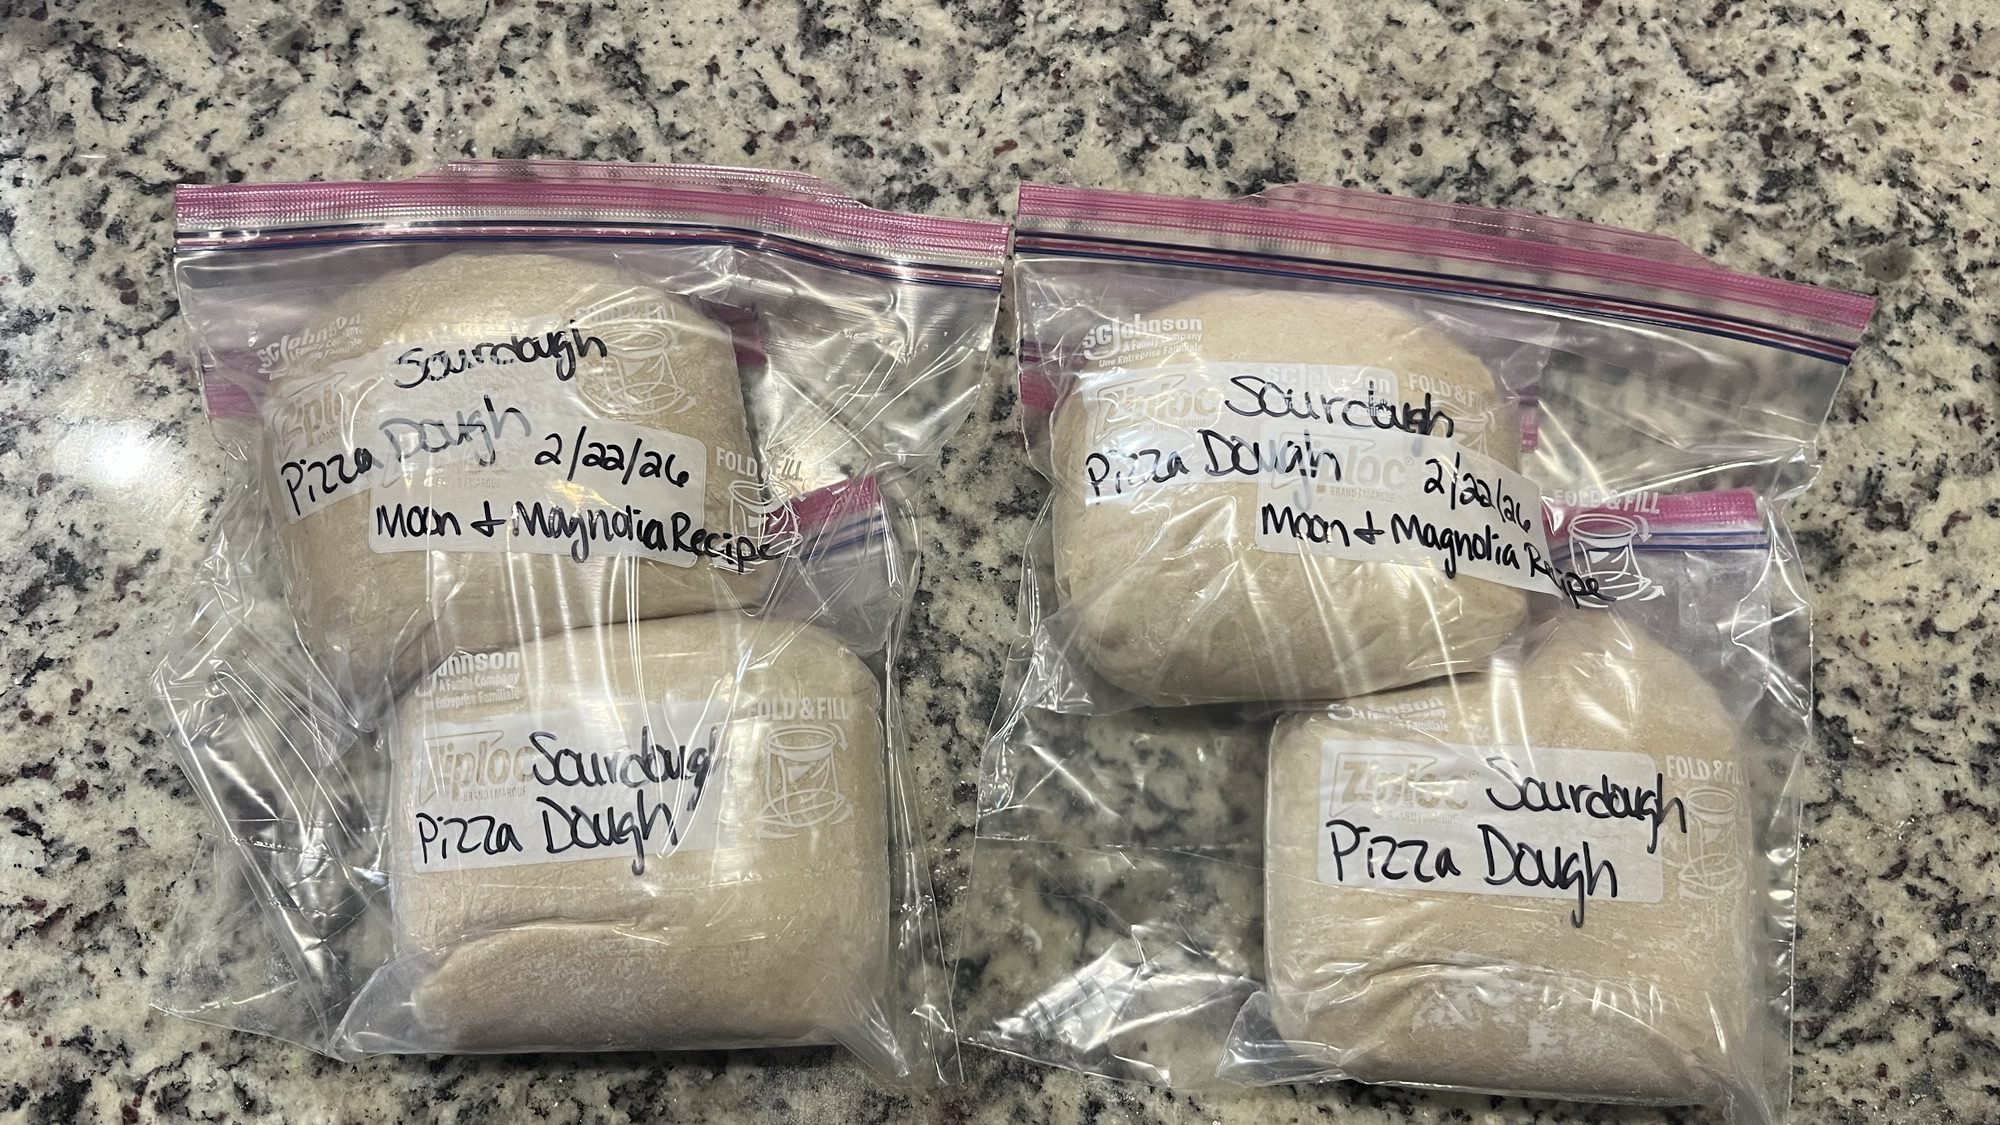
Be sure you are labeling your bags with the date, what it is, and what recipe you used so you know which to come back to when it’s time to unthaw. It will probably be a few weeks before I decide to make homemade pizza, but stay tuned for a part 2! Thank you for taking an interest in my blog. I will be adding a direct link to my links and supplies page if you would like to go check it out!
Sincerely,
Tiara


Leave a comment